Tracks tutorial
Table of Contents
- Goal
- Requirements
- Steps
- 1. Install and launch ‘ArcGIS Survey123 Connect’ on the desktop
- 2. Create a new survey
- 3. Use ‘Open folder’ to locate the XlsForm file
- 4. Create the hosted feature service on ArcGIS Online
- 5. Update the ‘settings’ sheet
- 6. Create a track control question
- 7. Save, Update and Publish the form
- 8. Install the form in CyberTracker
- 9. Create a start and stop sighting
- 10. View the track data
Goal
This tutorial demonstrates how to activate location tracking with CyberTracker and Survey123. When completed, an existing Survey123 form will send location track data to an ArcGIS Online feature service. If you are not familiar with Survey123, start with the portal.
Requirements
- Windows (64-bit) - Mac not yet supported
- Excel or other XlsForm editor
- Account on ArcGIS Online
- ArcGIS Survey123 Connect
Steps
It is recommended to follow the getting started tutorial to familiarize yourself with the tool. There are numerous online resources available.
1. Install and launch ‘ArcGIS Survey123 Connect’ on the desktop
Link for the Windows Store version
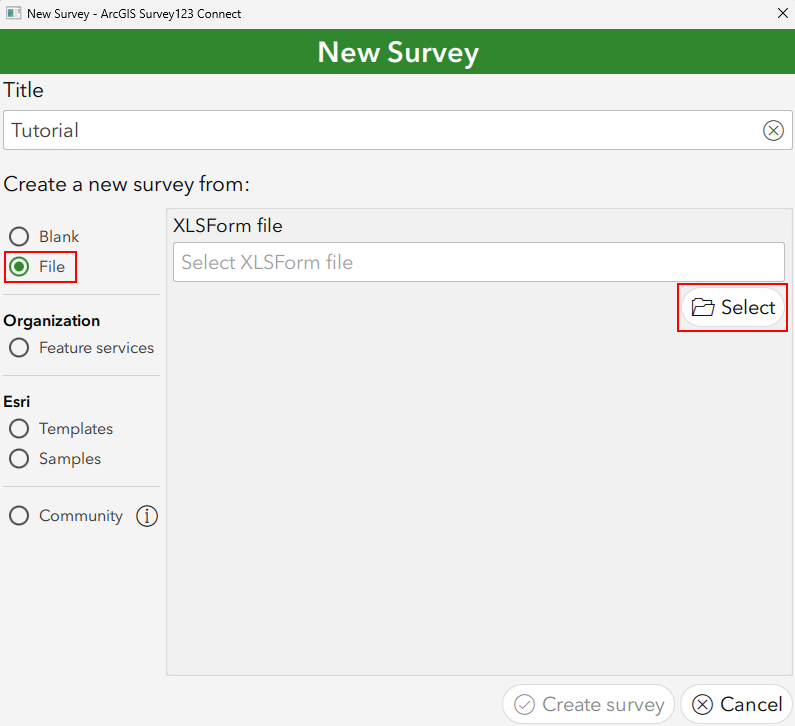
2. Create a new survey
Create a new survey or start with an existing survey.
You can use the File option and start with the tutorial survey. This form still requires that the bind::ct:locationServiceUrl column of the settings sheet be filled in before it will work (see step 4 below).
 |
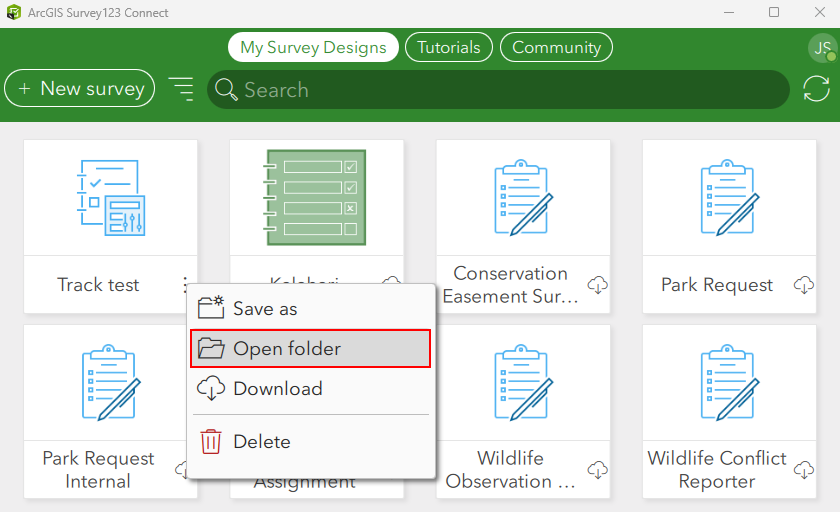
3. Use ‘Open folder’ to locate the XlsForm file
- Login and navigate to My Survey Designs
- Use the context menu and click on
Open folder - Open the Excel file in the folder
 |
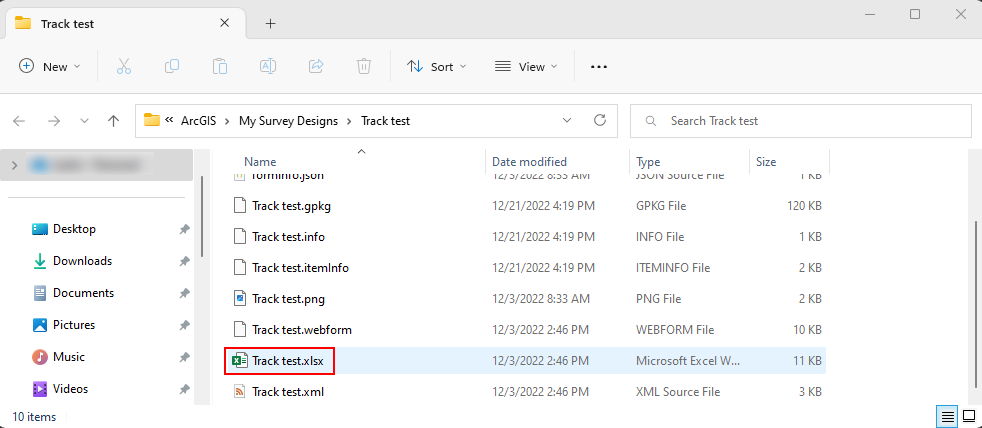 |
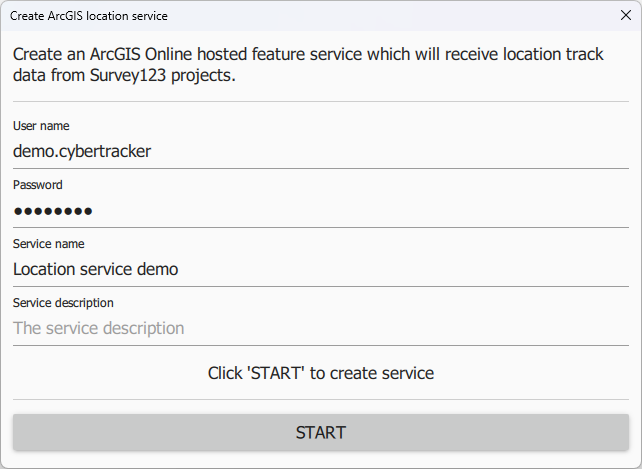
4. Create the hosted feature service on ArcGIS Online
Launch CyberTracker on the desktop and use the Tools->Create ArcGIS location service menu option
 |
Fill in the login credentials and a service name. Click the START button to create the service.
 |
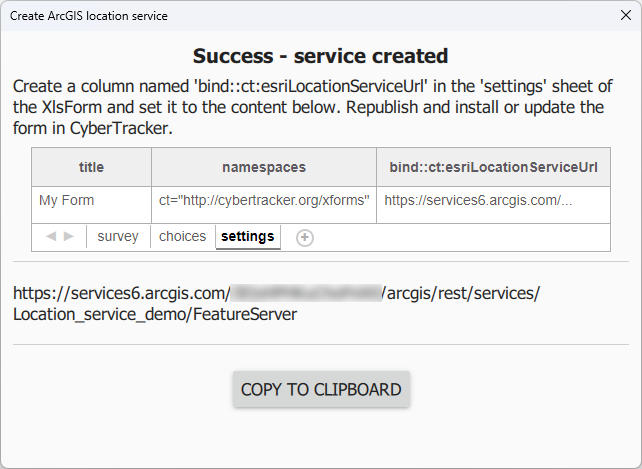
When the service has been created, the dialog will display the service URL. Click COPY TO CLIPBOARD.
 |
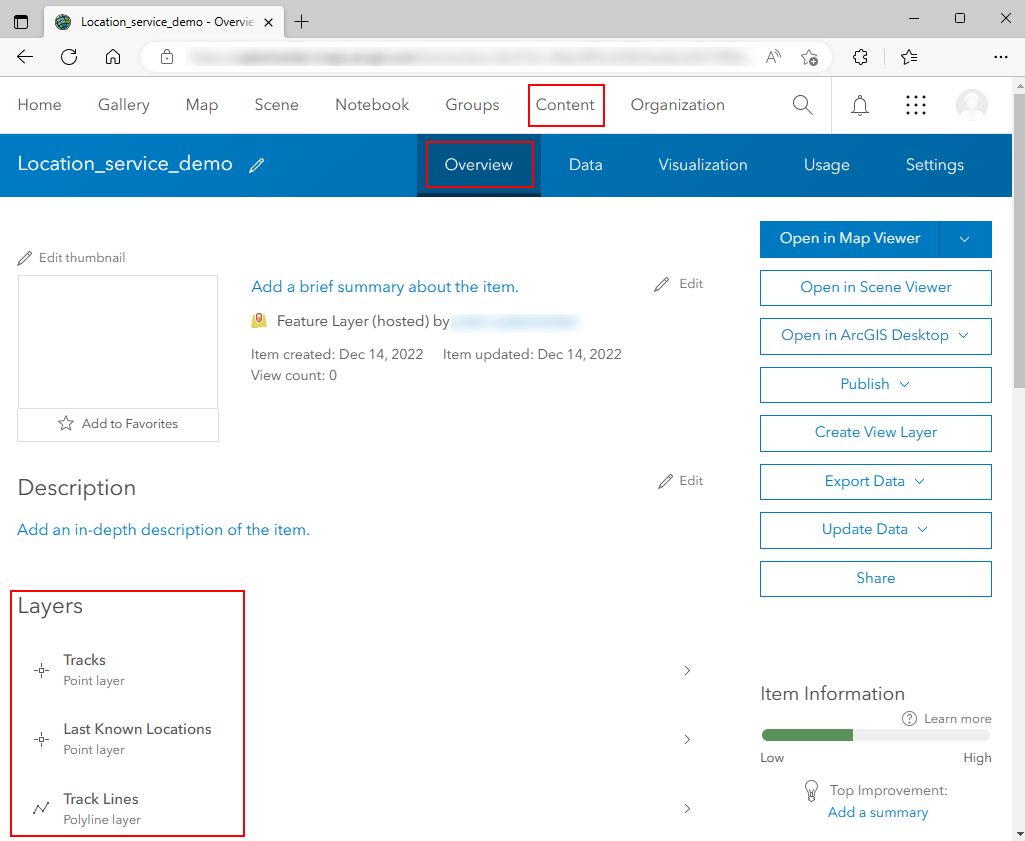
Login to your ArcGIS Online account and verify that the service has been created:
 |
5. Update the ‘settings’ sheet
Return to Excel and update the settings sheet with the namespaces, locationServiceUrl and sendLocationInterval columns.
| title | namespaces | bind::ct:locationServiceUrl | bind::ct:sendLocationInterval |
|---|---|---|---|
| My Form | ct="http://cybertracker.org/xforms" | https://services6.arcgis.com/.../FeatureServer | 30 |
| surveychoicessettings | |||
6. Create a track control question
The track settings are updated when the user presses Save and are dependent on something the user entered in the form.
Select a question which controls the state of the track timer. For example, add the following select_one question to the beginning of the form:
| type | name | label |
|---|---|---|
| select_one track_items | track | Configure track |
| surveychoicessettings | ||
| list_name | name | label |
|---|---|---|
| track_items | start | Start |
| track_items | stop | Stop |
| track_items | nochange | No change |
| surveychoicessettings | ||
Now create a JSON array which tells CyberTracker which setting to use. This is set in the bind::ct:save.track column of the settings sheet.
In this example, the when start option is selected, then the track timer will be set to a 5 second interval. When the stop option is selected, the track timer will be stopped.
snapTrack takes all outstanding point data (since the last snap) and creates a single polyline feature in the Track Lines polyline layer. This is required otherwise the device will never remove point data that has been sent.
| title | bind::ct:save.track | |
|---|---|---|
| My form | [{ "condition": "selected(${track}, 'start')", "updateIntervalSeconds": 5 }, { "condition": "selected(${track},'stop')", "updateIntervalSeconds": 0, "snapTrack": true }] | |
| surveychoicessettings | ||
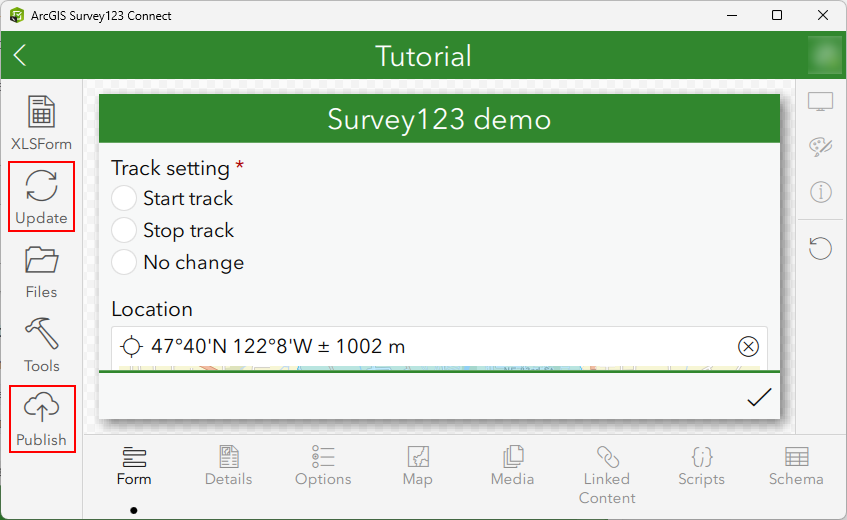
7. Save, Update and Publish the form
- Save the form in Excel
- Click the
Updatebutton in Survey123 Connect - Click the
Publishbutton in Survey123 Connect
 |
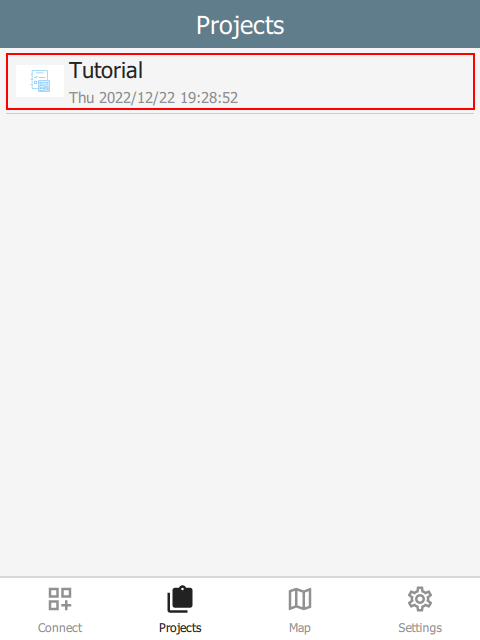
8. Install the form in CyberTracker
Open CyberTracker and use the Connect page to connect to Survey123:
 | 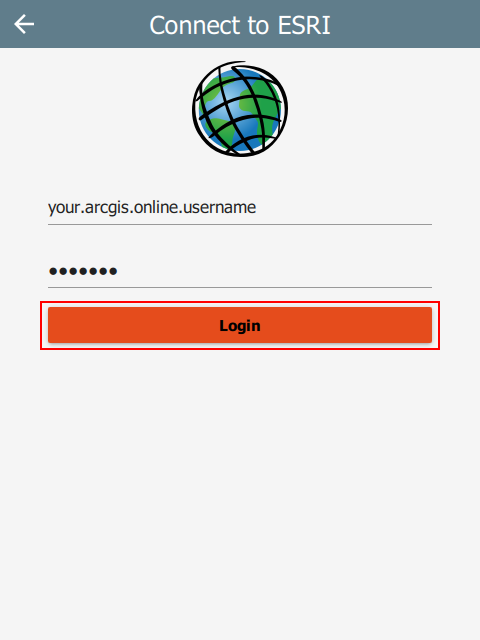 | 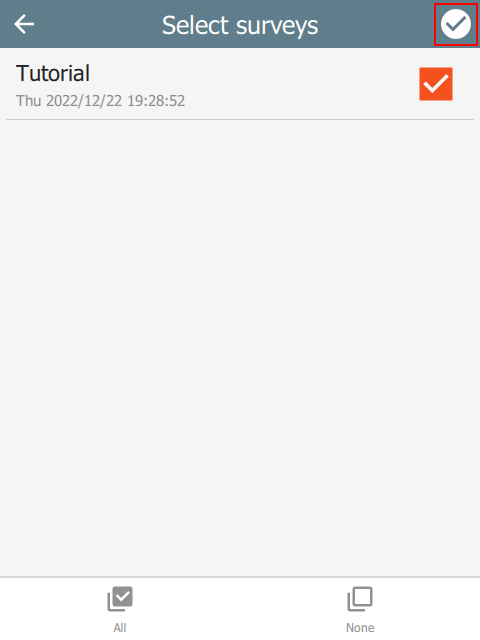 |
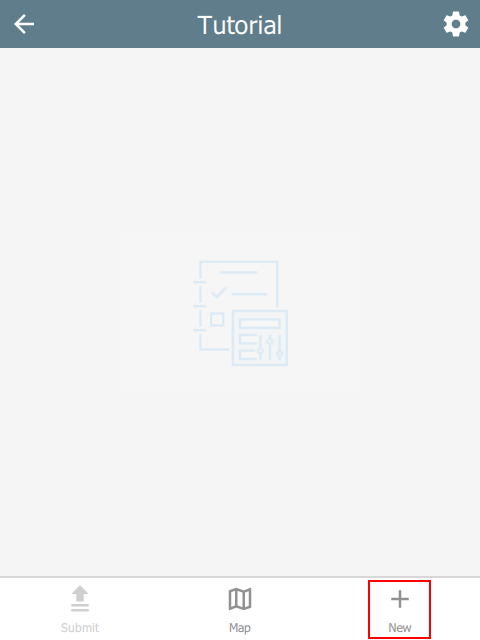
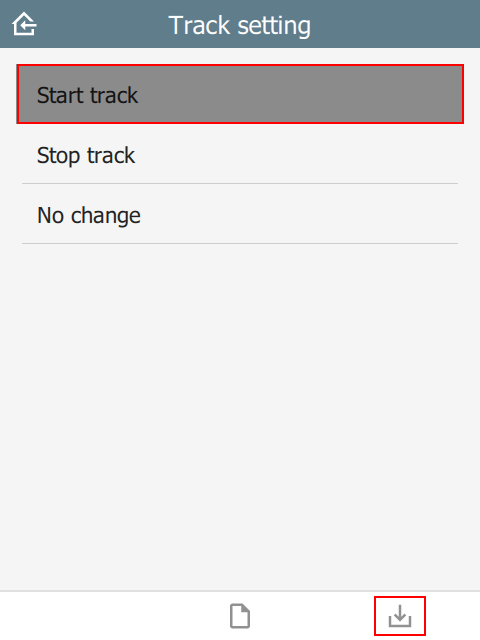
9. Create a start and stop sighting
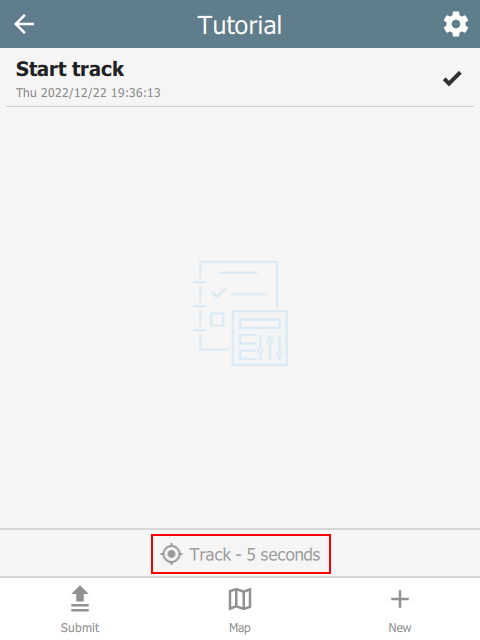
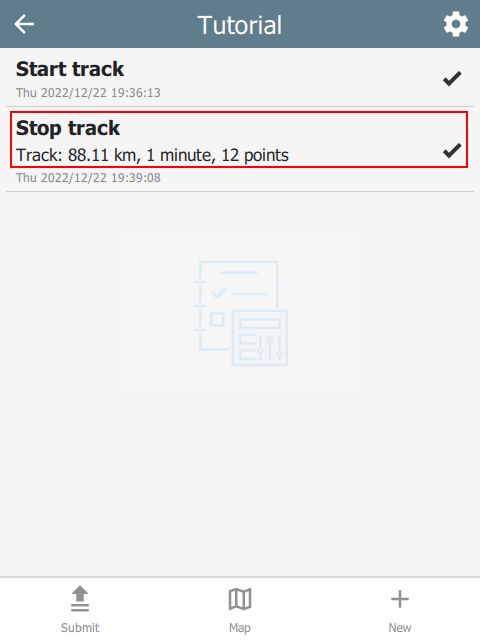
- Use the + button to create a new sighting and after selecting
Start track, tap the save button in the bottom right corner. - Repeat and create a
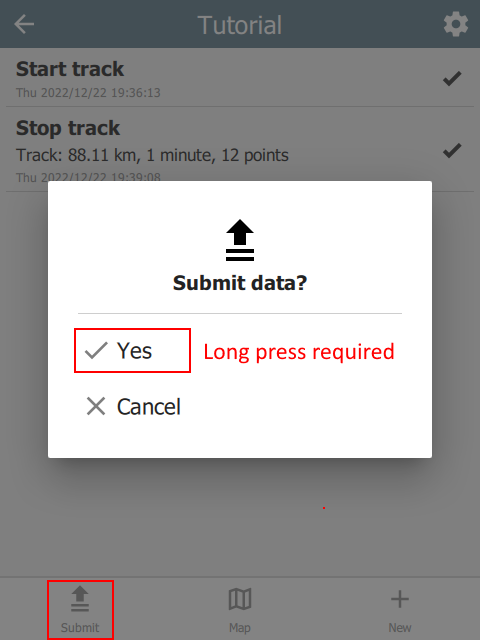
Stop tracksighting. - Click the Submit button in the bottom left corner of the survey Home page. Note that the Yes option on the submit dialog requires a long-press to confirm.
 |  |  |
 |  |  |
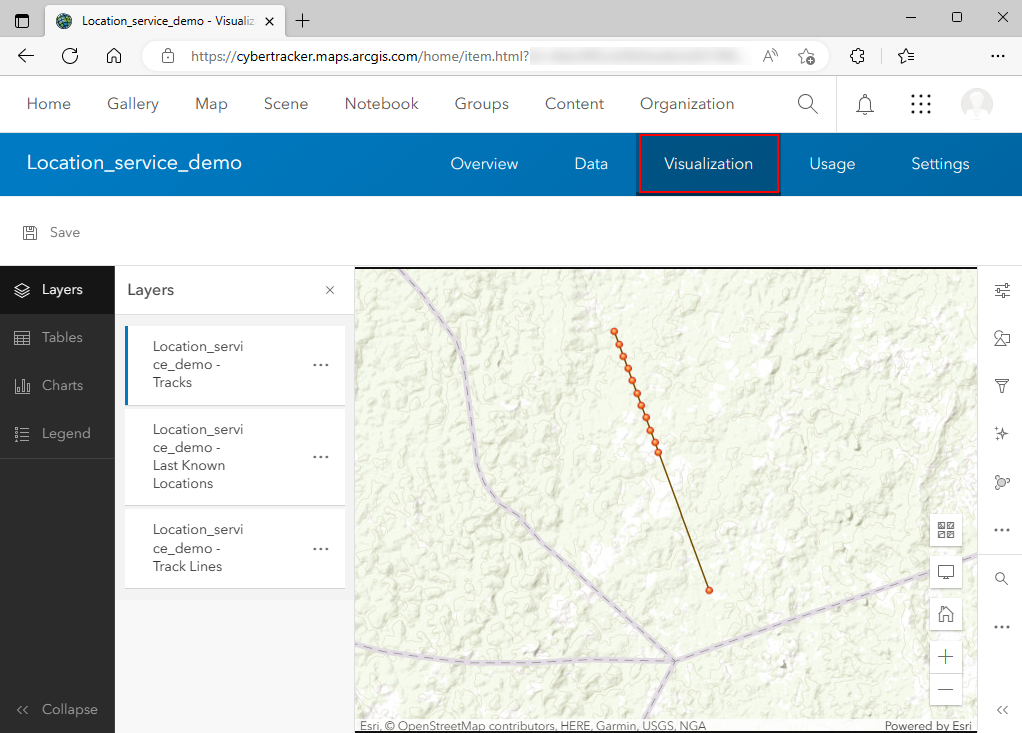
10. View the track data
View the location service data on ArcGIS Online.
 |