Form kit
Table of Contents
What is Form kit?
Form kit is a set of ready-made survey forms for CyberTracker, built on the XlsForm standard and the CyberTracker extensions. Each form is a complete data capture experience, not a single widget. It is packaged so that a project can take it, change the lists and fields to match its own work, and deploy it to KoBoToolbox, ODK Central or Survey123.
Form kit lives on GitHub: CyberTrackerConservation/formkit.
The forms themselves, with screenshots and a description of what each one records and how to customize it, are documented in the repository under forms/. This page covers what all of them have in common and how to get one onto a device.
Every form has the same shape: a session is opened with some metadata, observations are captured quickly while the GPS track is logged, and the session is closed and submitted. The data lands in the backend as ordinary XlsForm records, so existing reports and dashboards keep working.
The data model is compatible with every XlsForm backend, but CyberTracker is required on the device. It is the CyberTracker extensions that provide the icon grid, the voice recorder and the other custom screens.
How it works
Each form is one folder in the repository, and the folder holds everything the form needs.
- A spreadsheet. An XlsForm (
form.xlsx) that says what is collected: the metadata fields, the observation fields, the choice lists and the settings. This is the part a project customizes most. - Screen layouts. Custom layouts written in QML, sitting next to the spreadsheet. They are what give a form its character, for example an icon grid or a voice recorder.
- Media. Icons and images referenced from the spreadsheet, for example one SVG per species in an icon-based count. Icons come from the Wildlife Icons library, which has several thousand searchable icons from SMART, EarthRanger and CyberTracker, including a set drawn for aerial counts.
Forms share nothing with each other. Copying a form folder and changing it can never affect another form. A build step combines the pieces into a single finalized form.xlsx which is uploaded to the backend together with the media.
The build step
The spreadsheet refers to the screen layouts by file name. The build script reads each referenced QML file, compresses and base64-encodes it, and writes it into a bind::ct:content.qmlBase64z column. The qmlFile column is removed from the output. The finalized form is therefore self-contained: the screen layouts travel inside the spreadsheet and nothing else has to be uploaded apart from the media.
git clone https://github.com/CyberTrackerConservation/formkit.git
cd formkit
pip install -e ".[dev]"
formkit build                # builds every form into build/
formkit build icon-wildlife
The build also validates the finalized form with pyxform and reports any XlsForm errors. Customizing a form, making a new one, and doing either with an AI assistant are covered in the repository README.
Deploying to KoBoToolbox
This section takes a built form from the repository’s build/ folder to a device running CyberTracker. KoBoToolbox is used because it is free. ODK Central and Survey123 have their own upload screens but need the same files.
1. Log in
Sign in at kobotoolbox.org with your username and password. If you do not have an account, use Create an account first. Note which server you are on (for example kf.kobotoolbox.org or eu.kobotoolbox.org), because CyberTracker asks for it later.
 |
2. Start a new project
Click NEW at the top of the project list.
 |
3. Choose “Upload an XLSForm”
KoBoToolbox asks where the form should come from. Choose Upload an XLSForm. Do not use Build from scratch: the form comes from the built spreadsheet, not from the form builder.
 |
4. Upload the built spreadsheet
Drag build/<name>/form.xlsx onto the upload box, or click it to browse. Use the file in build/, not the one in forms/. The one in forms/ names its screen layouts by file name and will not work on the device.
 |
5. Name the project
Enter a project name, pick a sector and a country, and click Create project. The name is what appears in CyberTracker’s project list.
 |
6. Attach the media
Open the SETTINGS tab, then Media. Drag every file from build/<name>/ except form.xlsx onto the upload box. An icon-based form can have a hundred or more files. File names must match the media::image column in the spreadsheet exactly. A form with no media can skip this step.
 |
7. Deploy
Open the FORM tab and click DEPLOY. The form is now available to CyberTracker.
 |
Do not edit the form in the KoBoToolbox form builder (the pencil icon on this tab). The builder does not show the CyberTracker columns and saving from it removes them. To change the form, edit the spreadsheet, rebuild, use Replace form (the arrows icon on this tab) to upload the new form.xlsx, and click REDEPLOY.
8. Connect CyberTracker
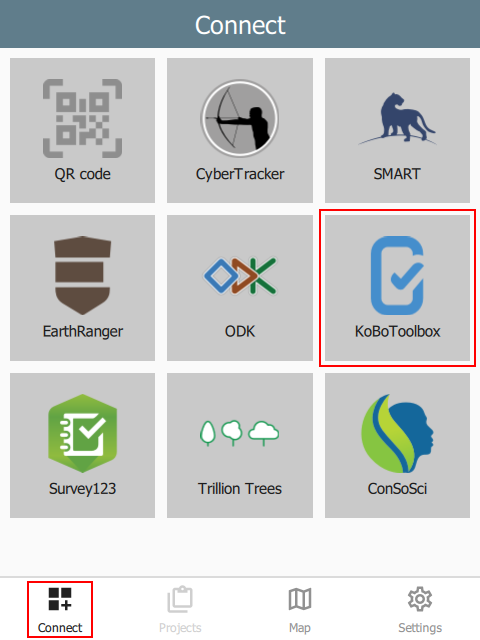
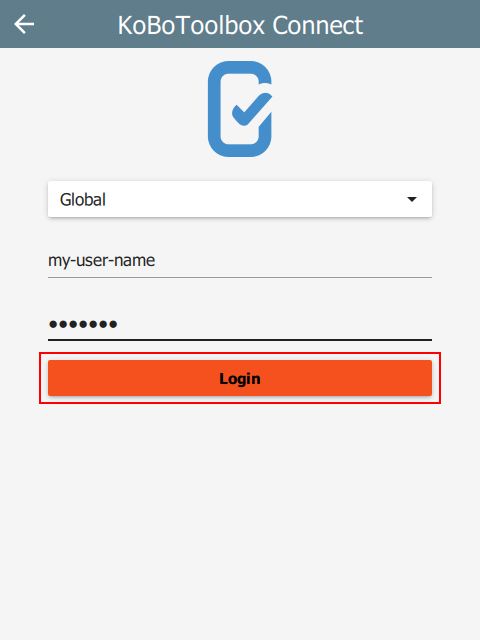
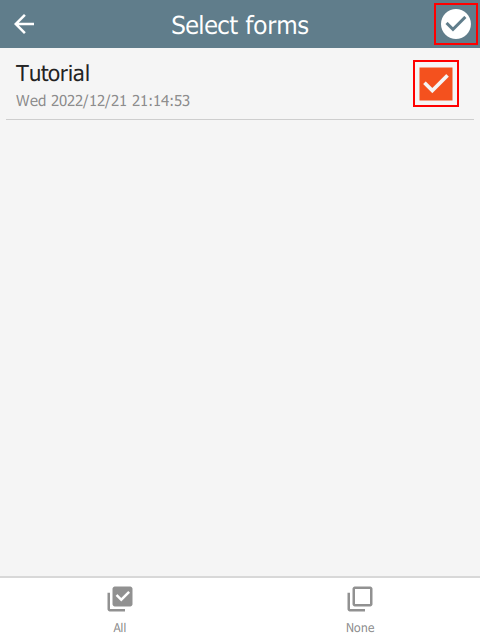
Install CyberTracker from the app stores. Open the app, tap the + button, choose KoBoToolbox, pick your server, and sign in. Your projects are listed. Tap the form to download it and its media. A form with many icons can take a minute on a slow connection.
 |  |  |
9. Grant permissions
The first time a survey is started, the app asks for location access. Choose allow all the time so that track logging continues while the screen is off. A voice-driven form also asks for the microphone.
10. Collect
Tap the project to open it, then tap New survey. Fill in the session metadata and tap Start survey. Record observations by tapping icons or by speaking, depending on the form. When finished, tap Stop survey in the top right corner. All data is stored on the device until it is submitted.
11. Submit
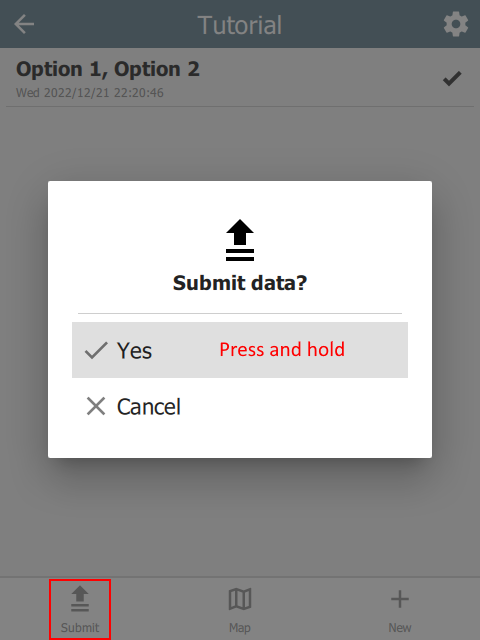
Return to the home screen and tap Submit. In a voice-driven form, submission waits until transcription has finished so that transcripts are uploaded with the audio.
 |
12. View the data
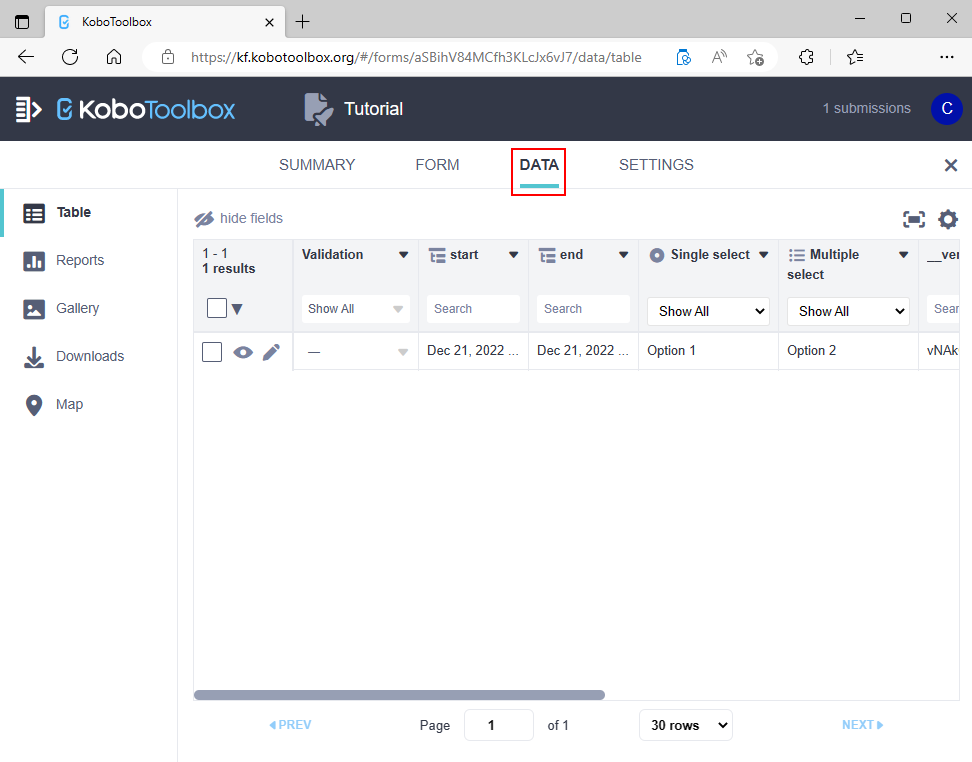
Open the project in KoBoToolbox and go to the DATA tab. Each session appears as one Start record, one Data record per observation, and one Stop record carrying the track file.
 |